Thursday, February 27, 2014

A Rusty Pair of Roller Skates

I'm always looking for unique ways to display my business cards while I'm at an antique or craft show.  I like to have my cards displayed in a couple of different places around my booth, and usually have an extra repurposed holder available just in case someone insists on buying one of them.  This quick and easy business card holder was made from one of the rusty old roller skates I bought at an antique show last month.

It will be perfect just as long as my table is level or a gust of wind doesn't blow through.

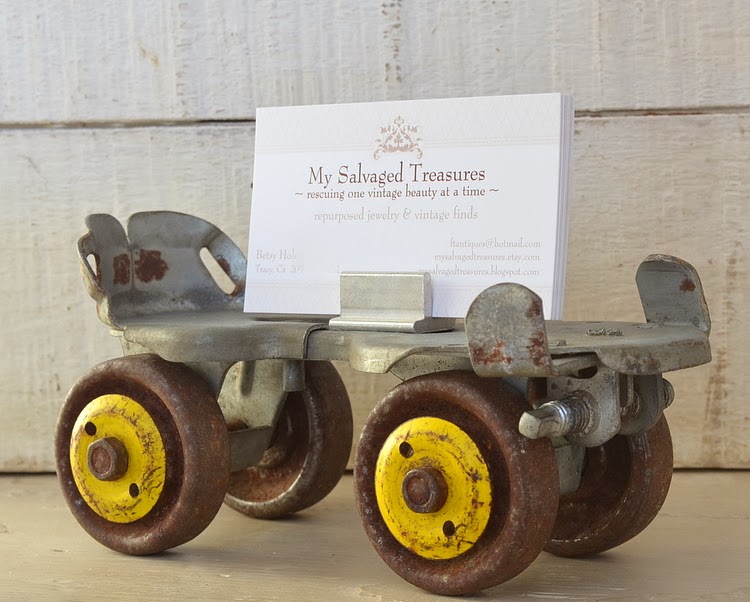
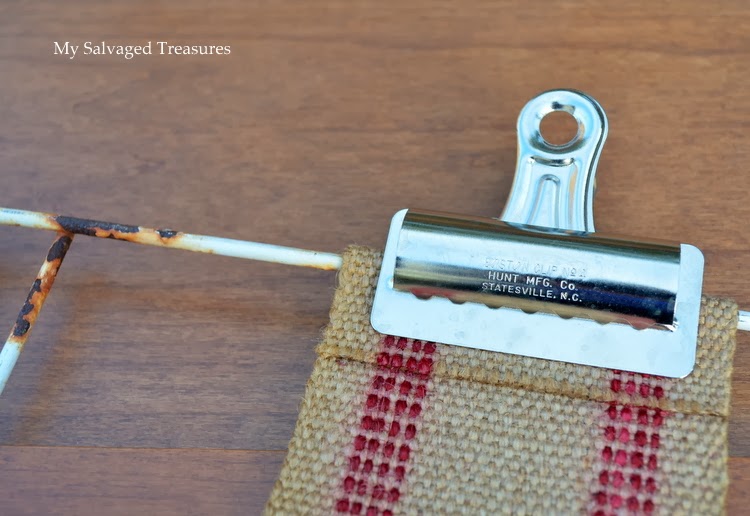
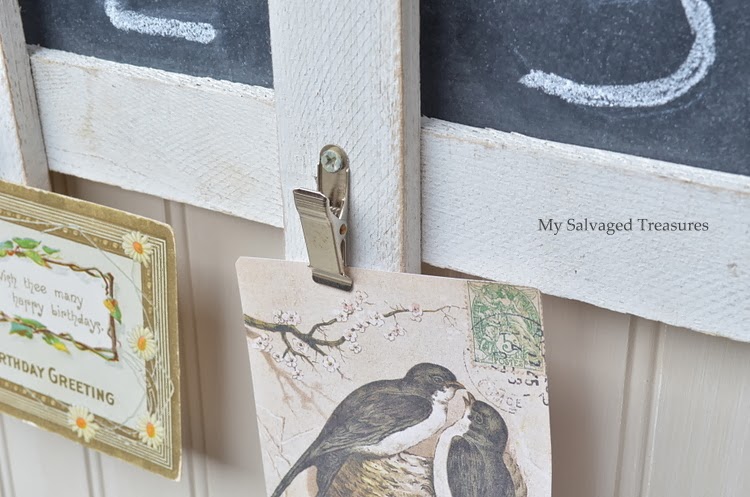
I searched through a drawer of miscellaneous junk and came up with one of these sliding window locks for holding the cards.

A dab of E6000 holds it right in place.  I also shot each skate with some clear matte acrylic spray to seal in the rust.

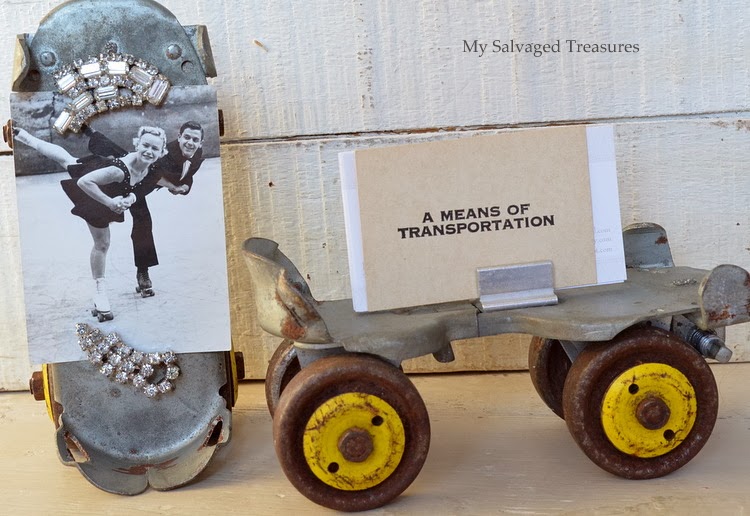
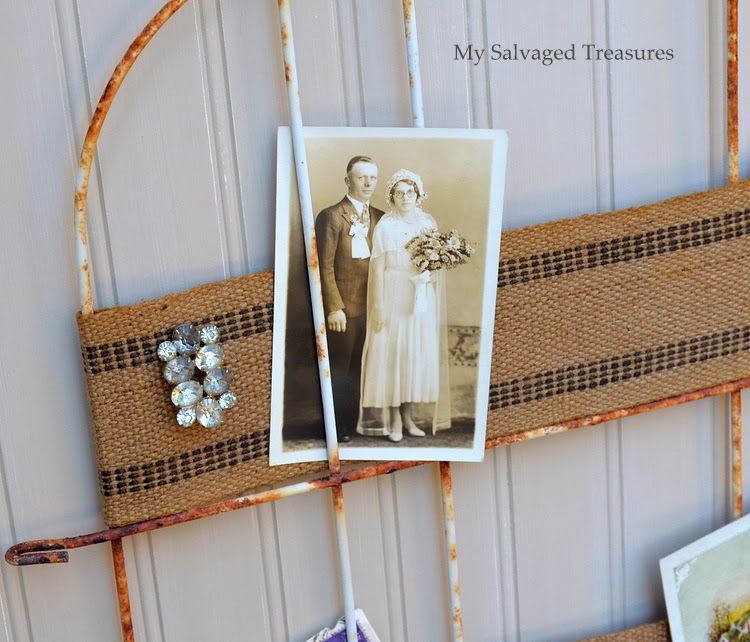
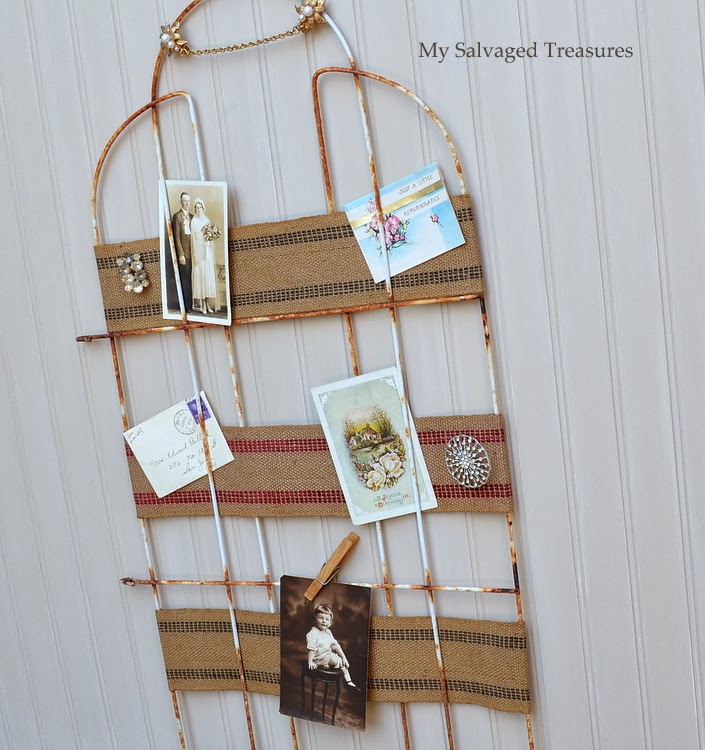
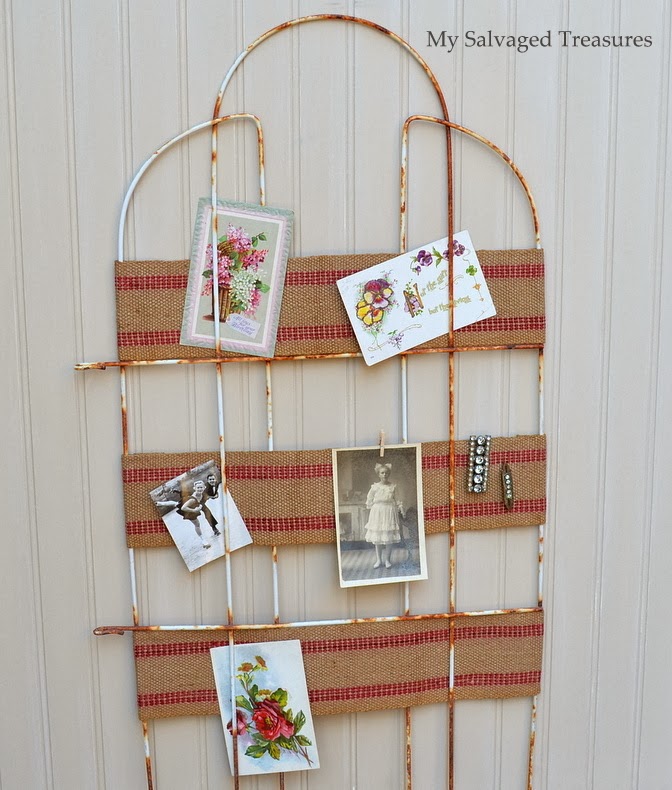
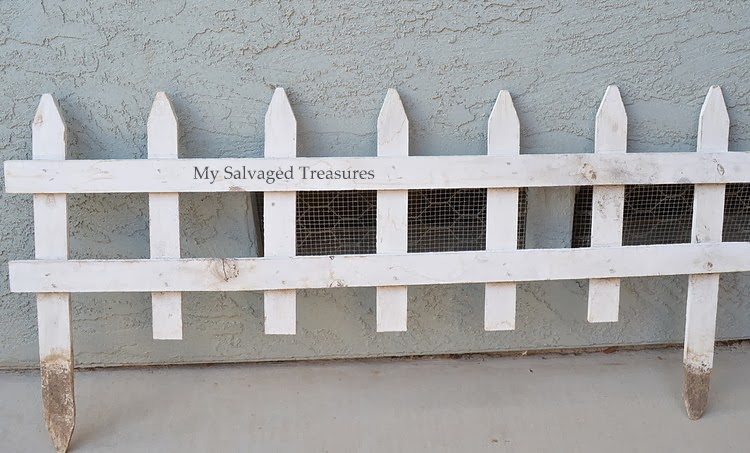
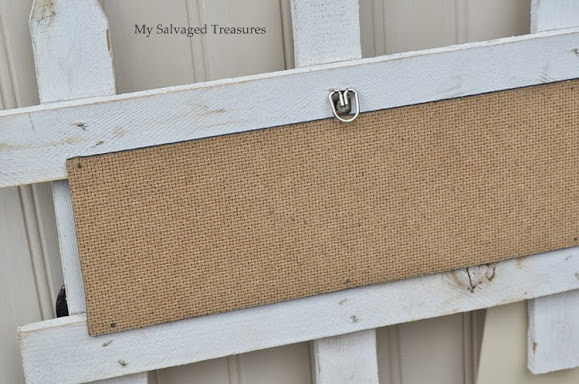
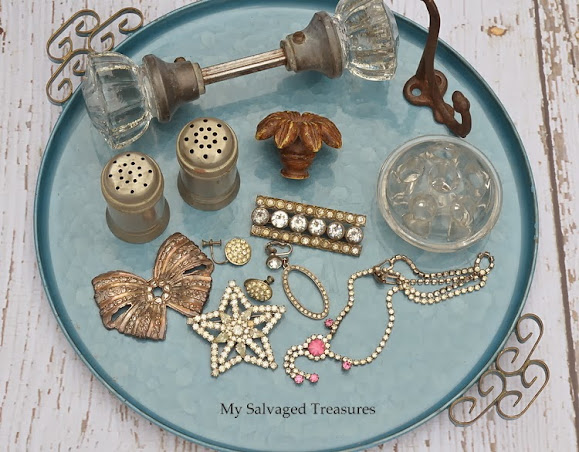
Rolling right along, the twin skate becomes a picture holder with the help of some vintage rhinestone jewelry and stick-on magnets.  I borrowed the Olympic hopefuls from the rusty fence picture holder I posted about last week.  It was meant to be.

 A little bling on top.....

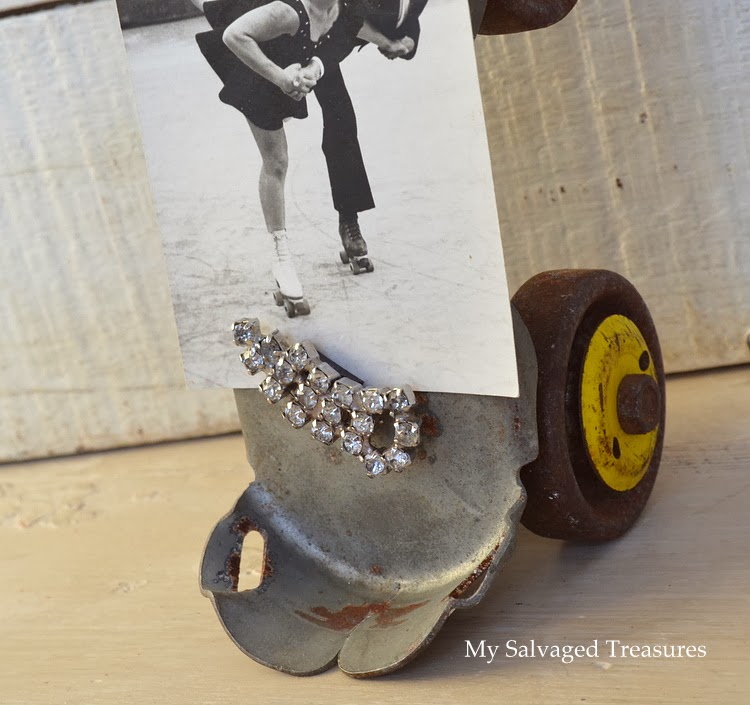
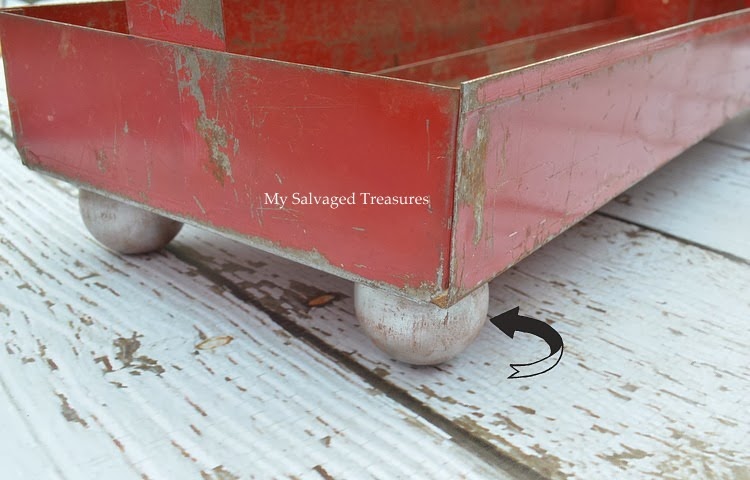
and a little bling on the bottom.

I don't think you'd get too far, but it's a fun way to display a vintage game card.

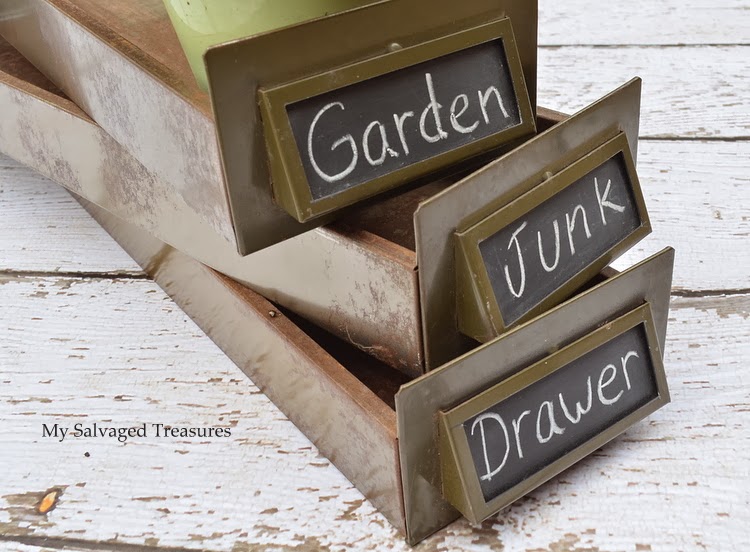
These will adjust up to 2" longer to accommodate a larger picture, plant, votive candle, or even a longer foot desperate for a quick getaway.

 You can see more of my junky business card holders here and here. 


Pin It
My Repurposed Life for Catch as Catch Can
The Cottage Market for Junkin Joe
Common Ground for Be Inspired
Funky Junk Interiors for Party Junk

Saturday, February 22, 2014

Rusty Fence Picture Holder

Vintage photos, rhinestones, rust, jute webbing, and garden junk, oh my!  These are just a few of my favorite things.  I didn't have a specific project in mind when I spotted two sections of rusty garden fencing at a flea market last month, but the price was right and I had to have them.

They turned out to be perfect frames for displaying some of my favorite things.

Jute webbing to the rescue.  I can't believe how much mileage I've been able to get out of a $1 roll of webbing I found at a yard sale a couple of years ago.  You can see a few of my other projects here, here, and here.  The old blue webbing is a recent garage sale find.

A vintage sweater clip adds a little elegance to the top of the rusty fence.

These were so simple to make.  I cut each strip of jute webbing about three inches longer than the width of the fence.  Then I wrapped each end around the fence, applied a generous amount of Tacky glue, and clamped it with some large metal clips until it dried.  

Why stop at just one picture holder when I had two fence pieces?

 For this one I used three pieces of red jute webbing and changed the way I positioned them.
All ready for hanging or for just sitting on a table propped up against the wall.


Pin It

Monday, February 17, 2014

Little Tweaks

There's just something about old rusty, chippy, and once loved boxes and drawers that speaks to me.  They're usually in really rough shape when I find them, but with a little elbow grease, time, or a repurposing plan in mind, they eventually emerge looking a bit better cleaner than when I bought them.  With spring shows just around the corner, the only way I'm going to put
a large dent in my projects-in-waiting pile is to limit the amount of time I spend on each one.  I have a lot of projects that can't be tackled in an hour, but not everything needs a major overhaul, just a little tweaking here and there can make a big difference.

Last month I posted about these rusty old drawers and some of the others here.

A quick tweak was all they needed.  I taped off the label areas and sprayed them with two coats of chalkboard paint.

I found this rusty tool box insert buried in the garage at an estate sale.  For an industrial look, I painted some round wooden knobs with aluminum spray paint, then rubbed on rust colored acrylic paint to tone them down.  The knobs have a small flat surface, so I just glued 'em right on.

These rustic drawers I found last month are about 2' long and 9" wide and deep, a perfect size for large potted plants.  I cleaned them up, gave the fronts a light coat of wax, then lined the bottoms with galvanized sheet metal.   Kind of gives them that "plant me" look.

I bought several drawers just like this one last year and spray painted all of them white. The rusty dividers of this recent find were sprayed with a matte acrylic sealer.  Another simple tweak.....from drawer to shelf.

The front of the drawer was already painted in a flat black...a perfect natural chalkboard.  

This greasy old tool carrier just needed a little cleaning.

No paint for this lovely patina, just a little tweaking with chalkboard paint.

Love these riveted corners.

I hope things start to bloom in your neck of the woods soon!


Pin It

Upcycled Treasures

Wednesday, February 12, 2014

Repurposed Picket Fence Garden Border


Several months ago I bought a tattered picket fence garden border at my favorite local antique store The Owl Box.  It was sitting in my projects-in-waiting pile for too long, so I fished it out a couple of weeks ago and just stared at it until inspiration hit.  Do you ever do that?  I think I need to start date stamping the stuff I bring home and get a "first in, first out" policy put in place.

This is what I ended up with and it only took me about an hour to complete after the chalkboard was prepped.  I used one coat of spray primer and two coats of Rust-Oleum chalkboard paint.

This is how it looked when I brought it home.  A little dirty, but that's to be expected after being stuck in the ground for who knows how long.  I thought about cutting off the dirty stakes on each end, but decided to wash 'em up and just touch up the paint in those two areas to cover the bare wood.

A scrap board left over from another chalkboard project was the perfect width; I only had to cut a few inches off the length.  Several small nails hold it in place, and two hooks were added for hanging.

I screwed some clips to each picket for holding cards, notes, or pictures.

Then I added a large rusty cup hook to the left side and an old wooden drawer knob to the
 right side.

One more project crossed off my list!  Wouldn't this be cute with family names and photos?

Pin It


My Repurposed Life for Catch as Catch Can
Common Ground for Be Inspired
Have a Daily Cup of Mrs. Olson for Share Your Cup Thursday
Funky Junk Interiors for Party Junk
The Cottage Market for Junkin' Joe

Thursday, February 6, 2014

Flea Market Treasures

Last Saturday I decided to make a trip over to the DeAnza College monthly flea market in Cupertino. I was trying to decide between this flea market on Saturday or the Alameda Antique Faire on Sunday.  Looks like I made the right executive decision because Alameda was rained out.   At least we're finally getting some much needed rain around here with a lot more expected this weekend.  Some of the treasures that followed me home...

A tray full of fun projects.

I
 This vintage clothes brush set spoke to me.  Do you think I should paint it, or clean up the wood and leave it as is?  Any other ideas?

It was a butter knife kind of day.  I found 26 in all, plus a few spoons.  I stamped (tutorial here) about half of them already and added them to my inventory at the Paris Flea Market for their opening this weekend.  

Ice box cookie molds.  Someone beat me to the heart.

Miscellaneous junque.  I brought the cool old box, two wire baskets, and the hidden iron scrolls over to the Paris Flea Market already.  The galvanized can got a mini makeover with burlap and a Creamery stencil.  I'm leaving the old sign just the way it is.  

I got a little carried away and bought eight of these rusty hearts.

These are about two feet wide and made from wine barrel rings.  I see them all over the place at just about every flea market and antique show, but never at such a bargain price. I deserve to keep just one, right?  


Pin It


Newer Posts Older Posts Home