Sunday, December 22, 2013

Have Yourself a Merry Little Christmas

Here we are with Christmas just a few days away and my "to do" list is finally getting shorter. The shopping is finished and the gifts are wrapped, so that just leaves cleaning and grocery shopping for Christmas Eve dinner.  How about you?  Are you as ready as you'll ever be?

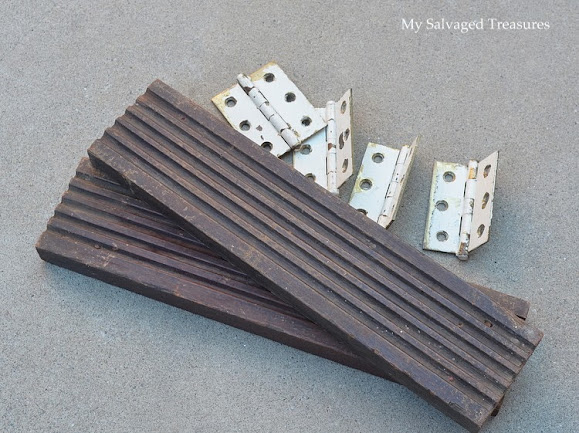
I wanted to share one more junkin' project before the end of 2013; this one was so
 quick and easy to put together from yard sale finds.

I enlisted the help of a small metal clip and this wiry vintage kitchen gadget.

The chippy green handle is a perfect fit inside the tarnished candlestick.  The pretty silver 
and glass trivet is also a yard sale find from about 15 years ago.

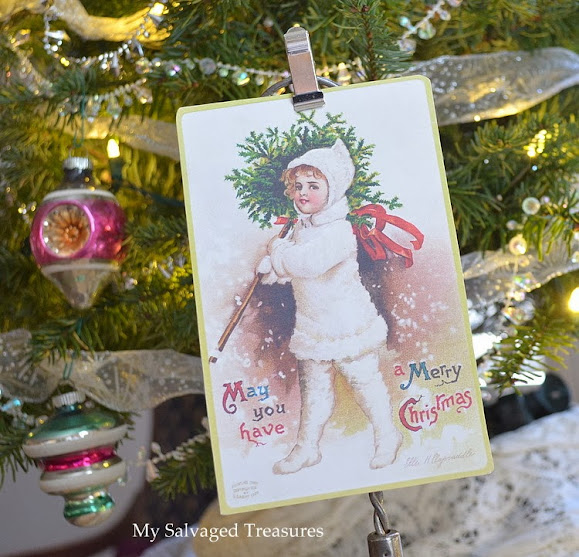
~ May you have a Merry Christmas ~
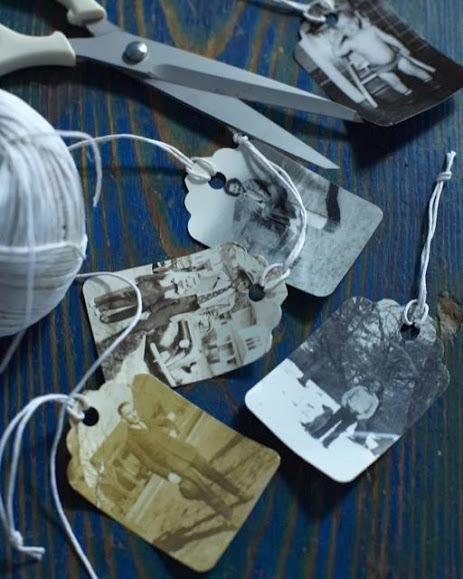
Graphics Fairy to the rescue.  She has so many cute postcards that are in much better shape than the ones I have.
  
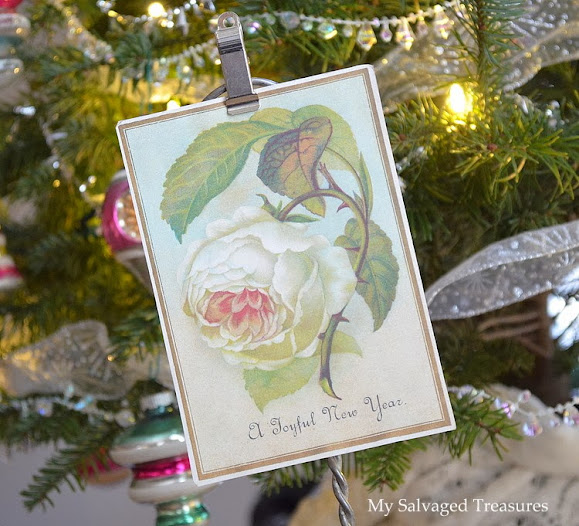
~ A Joyful New Year ~

I have so many plans for the week after Christmas and right through the first week of the new year.  We'll be hosting visitors for several days, then I'll be spending some time away from home with family and friends.  It's definitely going to be a busy couple of weeks, so I'll be taking a little blogging hiatus during this time.  I'll still be checking in from time to time to see what you're all up to, and I'll continue to post on My Salvaged Treasures Facebook page.   
Thank you all so very much for the inspiration and friendship you've shared in 2013!  Looking forward to an awesome 2014!

Wishing you all a very Merry Christmas and a Joyful New Year!!


Pin It

Tuesday, December 17, 2013

Holiday Gift Wrapping Ideas

I've been missing in action for several days because of all the "unblogworthy" and pesky projects that need finishing around here.  Washing and painting doors, cleaning carpets, spackling little holes (lots of holes) in one of my guest bedrooms, and dealing with a cold all week, hasn't left much time or energy for creating some of the Christmas junkin' projects I was hoping to finish and share.

My shopping is finished and the homemade gifts are ready to go, now it's time to focus my attention on wrapping everything up...after I remember where I stashed it all.  This year I'm going to try several of the creative ideas that I've been seeing all over Pinterest.  I've included the original source under each picture, so if you want to pin, please take a few moments to click on the source and pin directly from there:-)


Country Living
I'm doing this one for sure.  I've been trying to figure out a way to do it without dragging out my sewing machine, but I love the look of the stitching.  Maybe a big needle and some red yarn just like we used to do when we were kids.  I'll stamp the recipients name on the front.

Life as Mom
I know who's getting one of these.  Love this idea and it gives me a reason to eat a box of candy.

Songbird
Already wrapped a version of this and I love the way it turned out.

Songbird
Such a creative use for a doily place mat.

Allora Handmade
Love the idea of using newspaper and twine.  I'll be wrapping the candy box of money
 in a section of the sports page.

Sweet Paul Magazine
Copies of photographs make unique gift tags, or you can use the original directly on
 the package.

Odessa May Society

Lilla Blanka
Love anything with sheet music.

The Feathered Nest

HGTV
Brown paper packages tied up with string and a little greenery too.

Pure Joy Events
Washi tape to the rescue.

Great Oak Circle
So simple!


Sweet Song Bird

Design Sponge
I love this idea of using pieces of jewelry and buttons for embellishments.

Happy wrapping.
 I'm really going to enjoy this process!


Sharing with:
No Minimalist Here for Open House Party
Common Ground for Be Inspired
The Thrifty Groove for Thrifty Things Friday

Wednesday, December 11, 2013

Vintage Lace Christmas Tree

Are you ready for another Christmas tree project?  I think this is my third tree related post in the last couple of weeks, but I didn't want another season to go by without creating at least one of these.

You know I love using what I already have in my stash, so I gathered up the ingredients
 and started gluing.

It all started with a tomato/vegetable cage I found a few months ago and a box of vintage lace my sister-in-law was about to donate.  It didn't take much to convince her to donate it to me!

I covered the wire cage with muslin to make it easier to glue on the lace.  Hmm, I see a
 teepee here.  

The tarnished silver compote makes a perfect tree stand.

A dab of Tacky glue every inch or so along the top edge of each piece of lace holds it all in place.


An antique cut steel brooch was used as the tree topper; I just poked the pin directly
through the top.

I could have used a Styrofoam cone as the base, but I didn't have one, and.....
it wouldn't be able to glow like this.

With the help of one of these little battery operated LED lights my lace Christmas tree
 glows in the dark. 

I didn't get a picture of it in total darkness, but it makes a beautiful night light for guests
 during the holiday season.


Pin It

Sharing my vintage lace Christmas tree with:
Fishtail Cottage for Creating Christmas
Cozy Little House for Tweak It Tuesday
Common Ground for Be Inspired
My Repurposed Life for Catch as Catch Can
My Romantic Home for Show and Tell Friday
A Delightsome Life for Home and Garden Thursday

Friday, December 6, 2013

Christmas and New Year Tape Measure Trees

Preparations for my next show have kept me pretty busy the last couple of days, but after getting everything packed up and ready to go, I decided it was time to finish a few more tape measure trees.  I abandoned these trees a few weeks ago when I got sidetracked and made these larger versions to sell.  The tape measures were already cut up, so I just had to search for something to use as a frame.

 A few years ago I purchased several single pages from a Victorian picture album and used most of them to make necklace displays; I forgot I still had two more.  I glued the back of a tattered thrift store book to each album page for color and stability, then simply glued on the tape measure pieces and tree toppers.

A single rhinestone bell earring becomes a tree topper.

Instead of just putting a hook on the back, I had the urge to junk them up a little more.  I grabbed some chippy hinges from my hardware stash and two short pieces of molding salvaged from an old bar.

I painted the molding, roughed it up a bit, and attached the hinges with one screw on each side.

The old paint on the hinges keeps them from swinging back and forth.  

This one is the Happy New Year Tree with number 1 on top.

A rhinestone angel earring decorates the top of the tree.

Made in the USA.  

My Merry Christmas and  Happy New Year trees are now wrapped up and under the real tree.  I'm thinking the chippy picture holders will come in handy even after the holidays are over.


Pin It

Newer Posts Older Posts Home